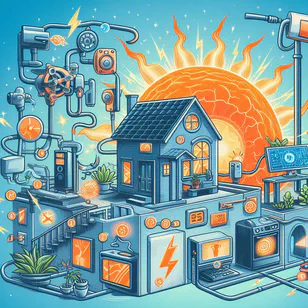
Introduction
As the world shifts towards renewable energy, many homeowners are left wondering what to do with their uninterruptible power supplies (UPS) once regular power outages become less frequent. Instead of letting your UPS gather dust, why not transform it into a solar power station? This guide will walk you through the process of converting your UPS into a functional solar energy system, helping you harness the sun’s power and reduce your electricity costs.
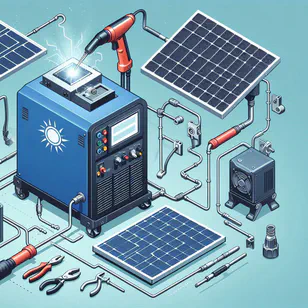
Components Needed
To convert your UPS into a solar power station, you’ll need the following components:
- Your existing UPS (preferably 1.5kW or higher)
- Solar panels
- Solar charge controller (MPPT recommended)
- Deep cycle battery (if not already included in your UPS)
- Two-pole circuit breakers
- Contactor
- Voltage control relay (e.g., XH-M602 or H633)
- Wiring and connectors
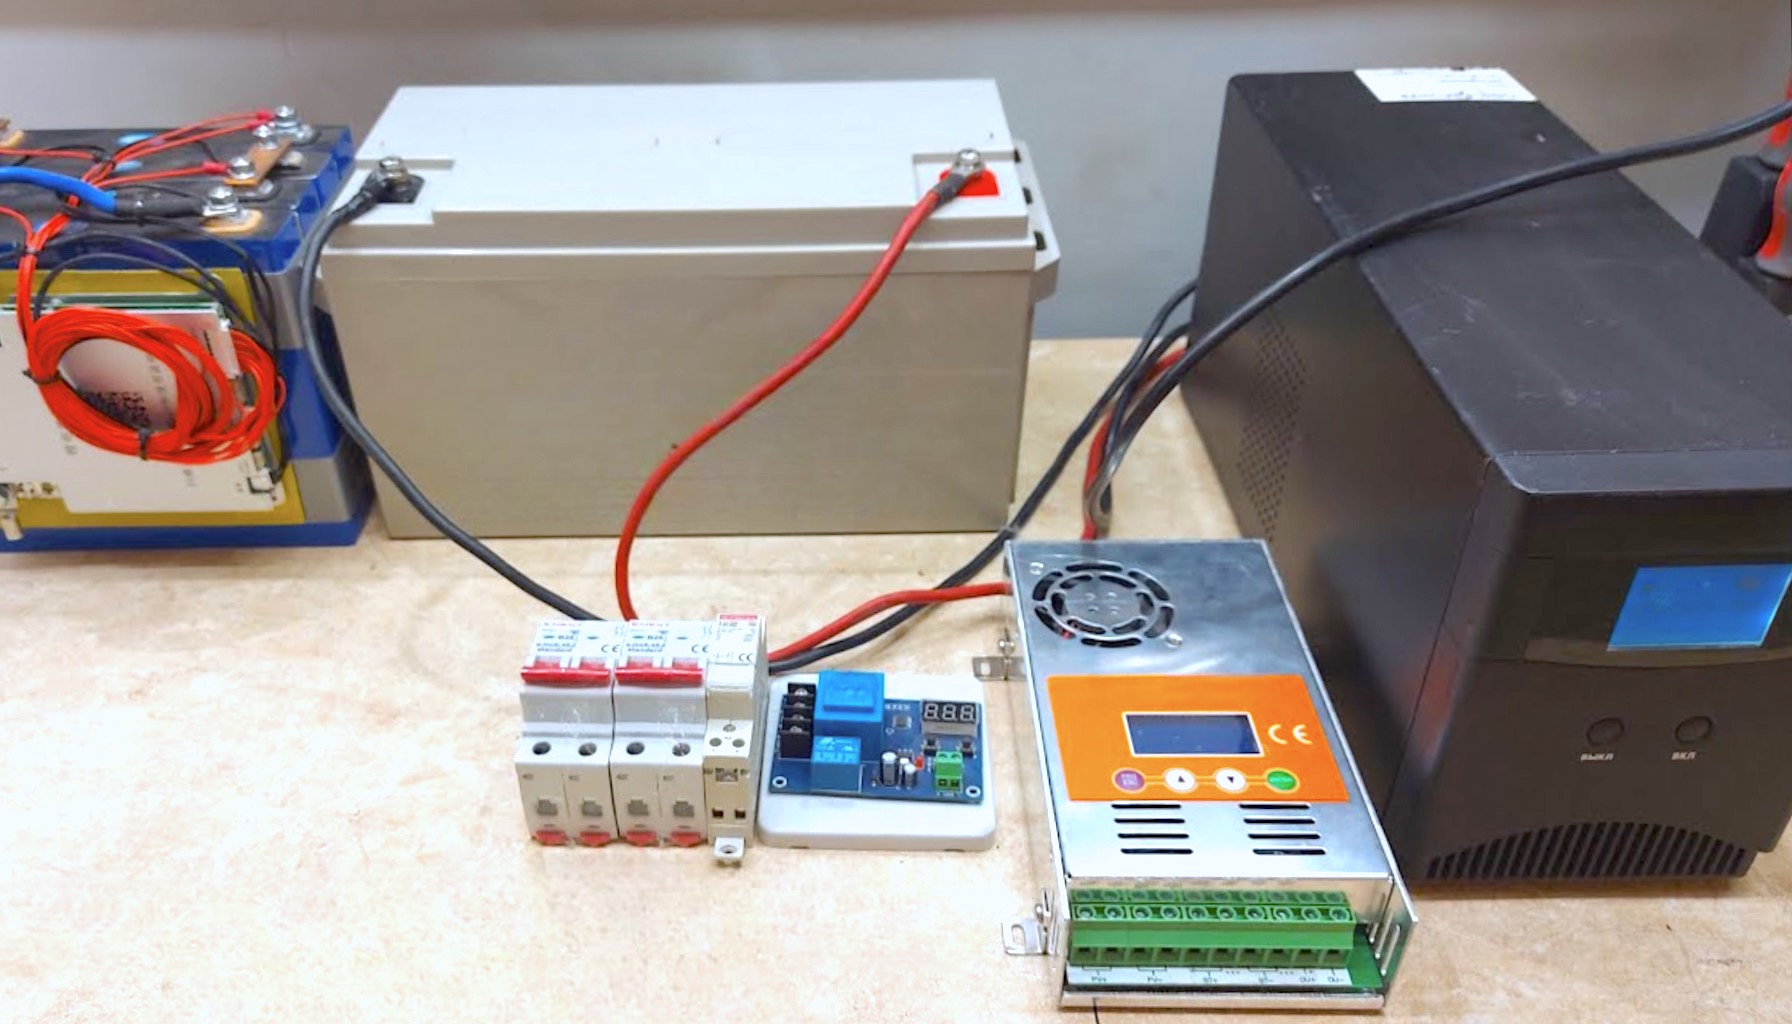
Step-by-Step Conversion Process
1. Assess Your Current Setup
Before beginning the conversion, evaluate your existing UPS. Most household UPS systems operate on 12V, but some may use 24V. This information is crucial for selecting compatible components.
2. Install the Solar Charge Controller
Connect the solar charge controller to your battery. Use a two-pole circuit breaker between the controller and the battery for safety. The MPPT (Maximum Power Point Tracking) controller is recommended for its higher efficiency, especially the MP5 version.
Learn more about the differences between PWM and MPPT solar charge controllers
3. Connect Solar Panels
Wire your solar panels to the charge controller through another two-pole circuit breaker. Ensure the panels’ voltage and current specifications match your controller’s input requirements.
4. Install the Voltage Control Relay
The voltage control relay (like XH-M602) is crucial for optimizing solar energy usage. Connect it to monitor the battery voltage and control the contactor.
5. Wire the Contactor
Install the contactor between the grid power input and your UPS. The voltage control relay will operate this contactor, switching between solar and grid power as needed.
6. Configure Settings
Set up the voltage thresholds on your voltage control relay. For a 12V system, start with around 14V for the upper limit and 13V for the lower limit. These settings may require fine-tuning based on your specific setup and usage patterns.
Optimizing Your Solar Power Station
To get the most out of your DIY solar power station:
Choose the right solar panels for your needs and available space. Learn about different types of solar panels
Consider upgrading to a higher voltage system (24V or 48V) for improved efficiency, especially for larger setups. Understand the benefits of high-voltage batteries for solar storage
Regularly maintain your system, including cleaning solar panels and checking battery health. Discover tips for maintaining your home solar power system
Monitor your energy consumption to optimize usage and system performance. A simple wattmeter can provide valuable insights. Find out why every solar power system needs a wattmeter
Conclusion
Converting your UPS into a solar power station is an excellent way to embrace renewable energy and reduce your reliance on the grid. While the initial setup requires some investment and technical know-how, the long-term benefits of reduced electricity costs and increased energy independence make it a worthwhile project for many homeowners.
Remember to prioritize safety throughout the installation process and consult with a professional if you’re unsure about any steps. With proper setup and maintenance, your DIY solar power station can provide reliable, clean energy for years to come.